Building a House Checklist for Buyers
Building a new home is exciting; but also full of things to think about and keep track of. This building a house checklist is what every person who is building a house needs – whether they are first-timers or people who have built homes before.
Every builder will have their own specific process, but this list will you think through every step along the way.
1. identify your priorities and where you want to live
Identify Your Priorities
You are thinking about moving…or maybe you have already decided. Before you begin to look at new home floorplans, you should have a list of things you want in a new home. What are the things you love about your current house? What are the things you don’t like or wish were different? Write them down and use this list as a way to evaluate homes.
Decide Where to Live
You also need to figure out what is important to you as you decide on an area to live. That will help narrow down your choices.
For us, having a view was one of our top priorities. There are lots of new homes being built all over the Phoenix area, but only a few offer the view we wanted – which helped us narrow down where we wanted to live.
If you aren’t sure, this is a great resource to help you figure out your ideal place to live.
Find a Builder
Once you have decided where to live you need to check out the new home builders in the area. New Homes Source is a great tool for finding new construction neighborhoods in the area where you want to live. This is a good place to start your research. Visit all the builders and walk through as many models and floor plans as you can.
Do some research on the builder. Look for reviews on the internet. If there are some completed homes in the neighborhood, drive around and talk to neighbors if you see them. Ask them about their home building experience.
2. Choose a model / floorplan
Next on the building a house checklist is finding the house and floorplan will work for you and your family.
Sometimes the model will determine what lot it can be built on, so you have to decide if the floorplan or lot is more important. Keep an open mind – look at all the floorplans offered. You might find that you really like certain features in a model that you had not considered. Take pictures of everything so you can refer back to them.
Request copies of the floor plans that you like – and even the ones you aren’t sure about. You will want to spend some time at home looking at them are carefully.
Does the Floorplan Work With Your Lifestyle?
Picture yourself living in that house. Is there enough storage? Is there easy access to the kitchen from the garage (think about carrying heavy groceries through the house). Is there enough room for entertaining? Is there adequate space for your family to spread out? Is there space for a home office? Will the furnishings you want to bring fit? Will the things you do in your current home work in the new home? Will your cars fit in the garage?
Use the priority list that you created in the first step of the house building checklist to evaluate the model homes you walk through to determine the one that best fits your needs.
understanding the decorator’s tricks
Look at each model carefully. Model home decorators use tricks to make rooms look larger, such as carefully placed mirrors, slightly smaller furniture (such as smaller beds and dining room tables), etc.
Here is an example. This is a small secondary bedroom in a model home. The bed is small and there was no room for a dresser. The decorator created a beautiful accent wall to draw the eye to the wall, instead of the size of the room.
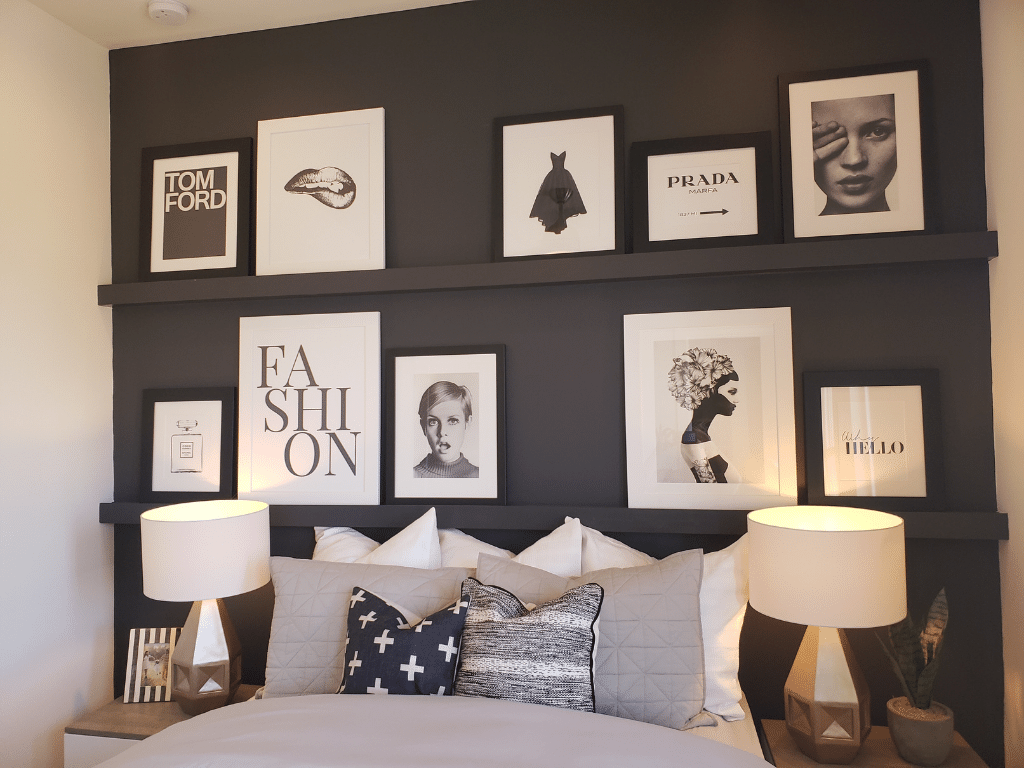
Model homes are decorated to sell a house, not to live in – so look at the house through the lens of can I live here? Measure the dimensions of the garage to make sure you cars can fit. Also, bring the measurements of some of your big pieces of furniture and measure them out in the model.
Ask About the Upgrades
Model homes are full of upgrades – lots and lots of them to make the house look amazing. Be sure to ask the builder’s representative what exactly is “standard” in a house versus the upgrades shown in the model. Ask if there is a list of all the upgrades that were included in the model you are considering.
Case in point – We upgraded our laundry room to include cabinets over the sink, but not over the washer and dryer as shown in the model. We (foolishly) assumed nothing would be put on that wall; but as it turned out, if you didn’t opt for cabinets on that wall, you got a (really ugly) shelf. We had no idea until we saw the shelf installed on the wall during one of our walkthroughs. Had we known about the shelf, we would have asked them to skip installing the shelf – which would have been a lot easier than us repairing the drywall after taking it down.
Other things that are typically overlooked include:
- Bathroom mirrors. Decorative mirrors are typically in a model home; but those are not standard.
- Medicine cabinets. Model homes rarely include them, but they are typically standard.
- Refrigerator size. Decorators often use counter depth refrigerators; but that size refrigerator is much smaller than a standard refrigerator. Be sure to ask what size refrigerator will fit into the space.
3. Choose a Lot
Choosing a lot is such an important step. If possible, walk every lot you are considering. Ask the builder if there are any restrictions for the lot (e.g. type of house/floor plan). Also find out what type of homes will be built around you. If a view is important to you, you will need to know if there are two-story homes build near you that will block your view. You will also need to look at the view from each angle.
Ask if there are any lot premiums. These are additional charges for the more desirable lots. Some lots are larger, more private or have better views. It’s important to know if there is a premium because you will need to factor that into your budget.
Not every lot will be available at the same time. If you have a specific lot you are interested in, but it currently isn’t available, ask the builder’s representative about the timing when it will be released. Also, get on their notification list so you hear about updates on a timely basis.
4. Sign a Purchase Agreement
This is the first official step you will take with the builder. At this point you are committing to a lot and model – so it is important to be sure of your choices when you make it official.
You may also get an estimated completion date – but keep in mind that it is an estimate. There are many variables that can affect this date – weather, permits, inspections, material availability, etc.
5. Prepare for your design appointment
You have signed on the dotted line. Now you have lots of choices to make. This task in your building a house checklist requires preparation that will save you a headache in the long run.
choose your style
Before you make your design choices, you should have a design direction for your new home. What style of décor do you want your new house to have? Are you keeping with the same style as in your current home? Or are you looking to change things up?

Once you know the style you want your new home to have, you need to decide what furnishings you own that you want to incorporate into your new home. This will help guide your design and color choices.
This process takes some time and thought. Use a spreadsheet to list all the items your currently own that you plan to bring with you. Include the measurements of those items. Make several copies of the floor plan provided by your builder and begin sketching the large pieces you plan to bring with you.
Choose your primary color scheme
Once you know your overall style and the pieces you want to incorporate, you will be able to more easily determine your overall color scheme. Look for something that gives you inspiration to direct your choice.
For me, it was a pillow cover. I knew I was going in a dark brown and white direction for my modern southwest style, but wasn’t sure about the accent colors until I found a pillow cover that gave me the inspiration I needed – dark blue and copper.

Determine Your Budget
It is very easy to go crazy when you are making selections – which is exactly why you need to know your budget prior to your meeting. This will help you stay on track when you are making your choices.
6. Make Your Design Choices
Now you are ready to make your choices on all the options in your new home. All the prep work that you did regarding style, furnishings, and color will make your appointment with the design center go smoothly.
Bring Swatches and Photos
Bring swatches of everything you can. If you can’t bring swatches, bring photos of furnishings you want to incorporate. This is especially helpful when you are choosing your finishes, especially flooring. When we had our appointment, I brought my pillow cover along to help me stay on track with my color scheme.
If you know what colors you eventually want to paint your walls, this will be helpful when thinking about the flooring choices – to make sure they work well together. Bring paint swatches of paint you think you will use.
Choose Your upgrades
Have your budget ready so you know what upgrades you can afford.
Every upgrade will have a price tag which is generally higher than what you could purchase the item for yourself. As you make your choices, consider things that could be done to your house after you settle. For example, lighting is a fairly easy thing to do after the house is built and you will have so many more choices than the builder gives you. My rule of thumb is to upgrade the things that would be a hassle to do later; and stick with the standard items included with the house to upgrade after the house is yours.
For our house, we opted to upgrade the following items on our own:
- Cabinet hardware
- Lighting
- Additional laundry room cabinets
- Powder room mirror
- Ceiling fans
- Tile backsplash in the kitchen
- Decorative ceiling beams
If you have the luxury of time, you could install everything that is standard and then then replace it all before you move in.
Take Notes
After you make your choices, make notes of all the choices, the manufacturers and colors. With this information, you can find retailers who sell these items and request swatches. Having flooring and tile samples are a big help as you make purchases for your home.
7. Establish a good relationship with the team
Your project manager is the person that you will talk to the most during construction. Establish a good working relationship. This investment will pay off in the event you find something that isn’t correct. And it makes the overall experience much more pleasant.
Be sure to discuss the best methods of communication during construction – who and how to contact for questions, concerns, etc. We found it best to keep a running list of questions and then ask them during our weekly update meeting. This was much more effective then contacting him every time we had a question. Remember, your project manager has many houses in the works simultaneously, not just yours.
8. check the progress
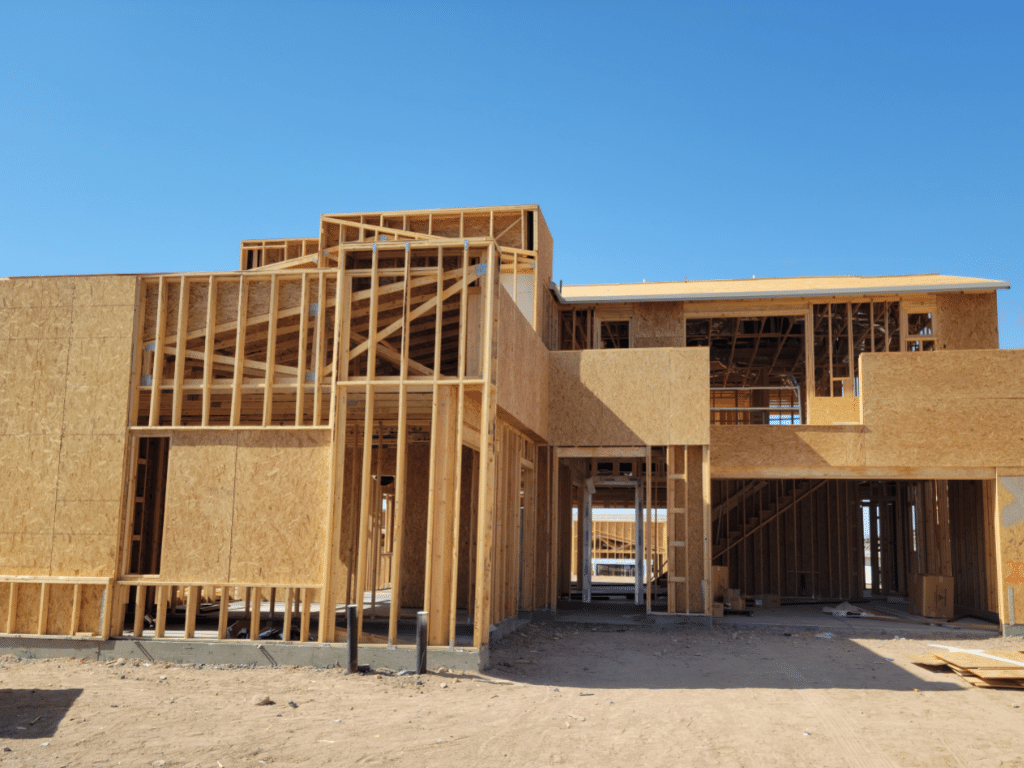
This is where it gets exciting. The house is being built! It will seem to go fast at first because you are seeing the framing go up. After that, it will seem slower – but that doesn’t mean things aren’t happening.
Check the Progress
If you are local, visit the construction site often. It’s exciting to see the house go up; and it’s important to see that things are being done according to your selections (it’s much easier to fix things before you settle on the house than after). Be sure to check with the builder about any restrictions about walking through the house during construction.
Never visit when work is being done on the house. And when you walk through the house, remember it is an active construction site with all kinds of hazards. Wear suitable shoes so you don’t get injured.
Take Pictures – Lots of Them
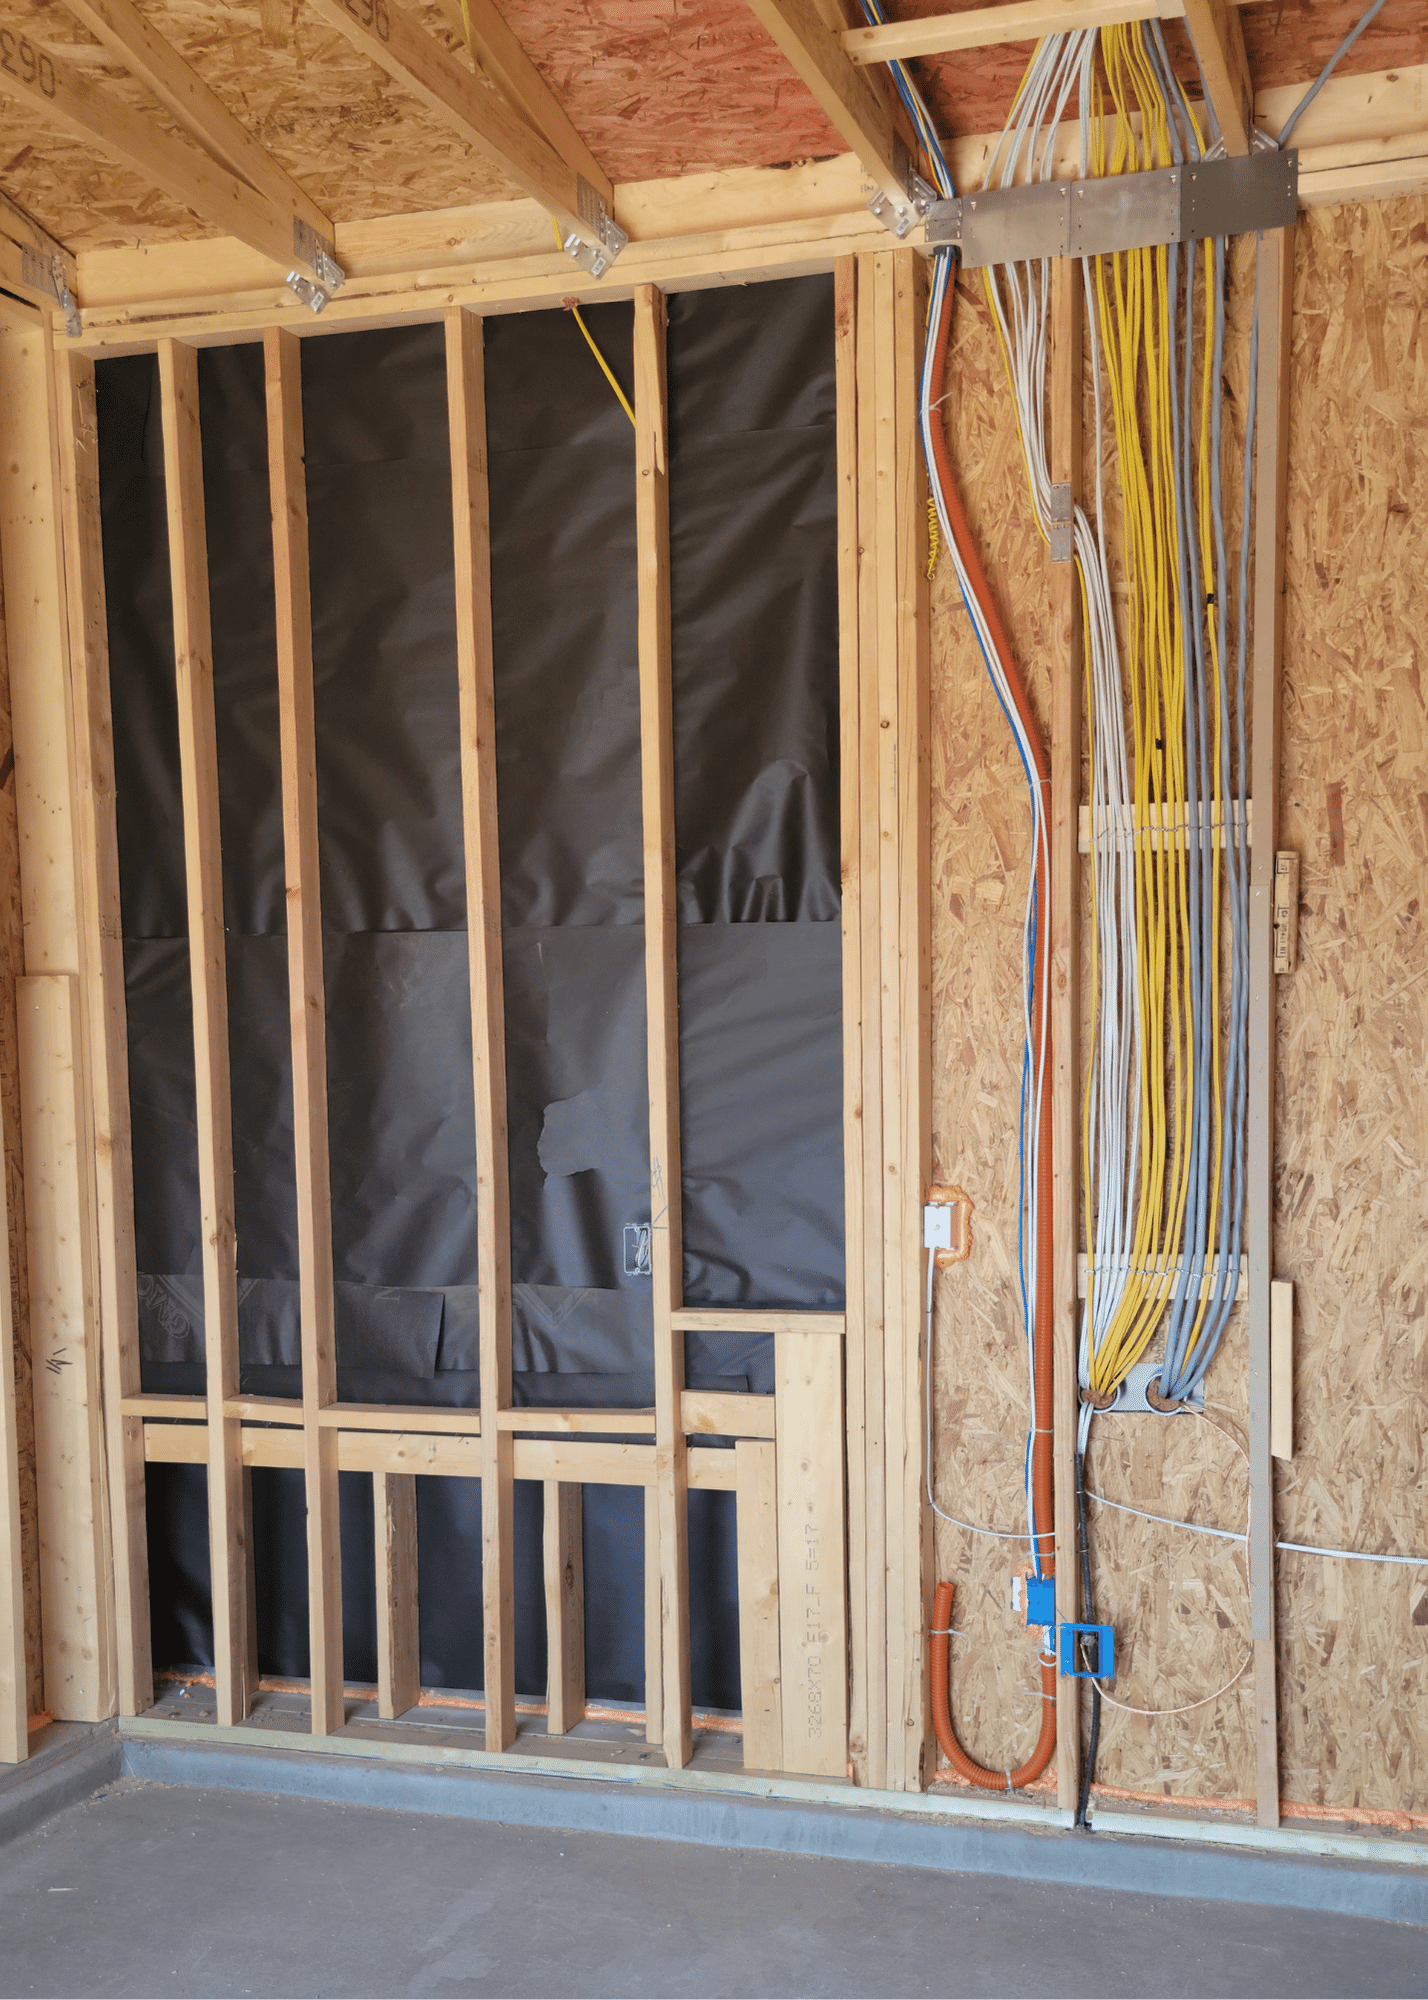
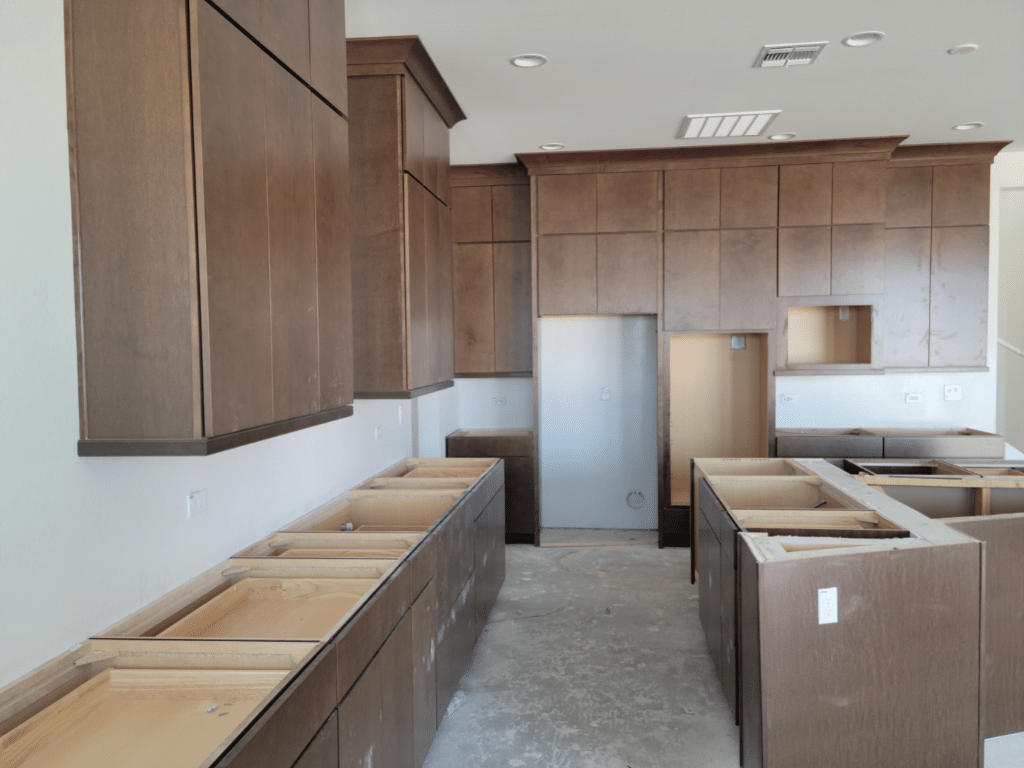
Take lots of pictures during the different phases. It is especially important to do this after the house has been framed, but before the drywall is installed. Having a photo of every room helps for future work that you plan to do (or problems to solve) because you can see exactly where wiring and pipes are located behind the drywall.
Before the drywall goes up also make sure that electrical outlets have been placed where you requested, as well as lighting fixtures. All of this is much easier to fix before the drywall goes up.
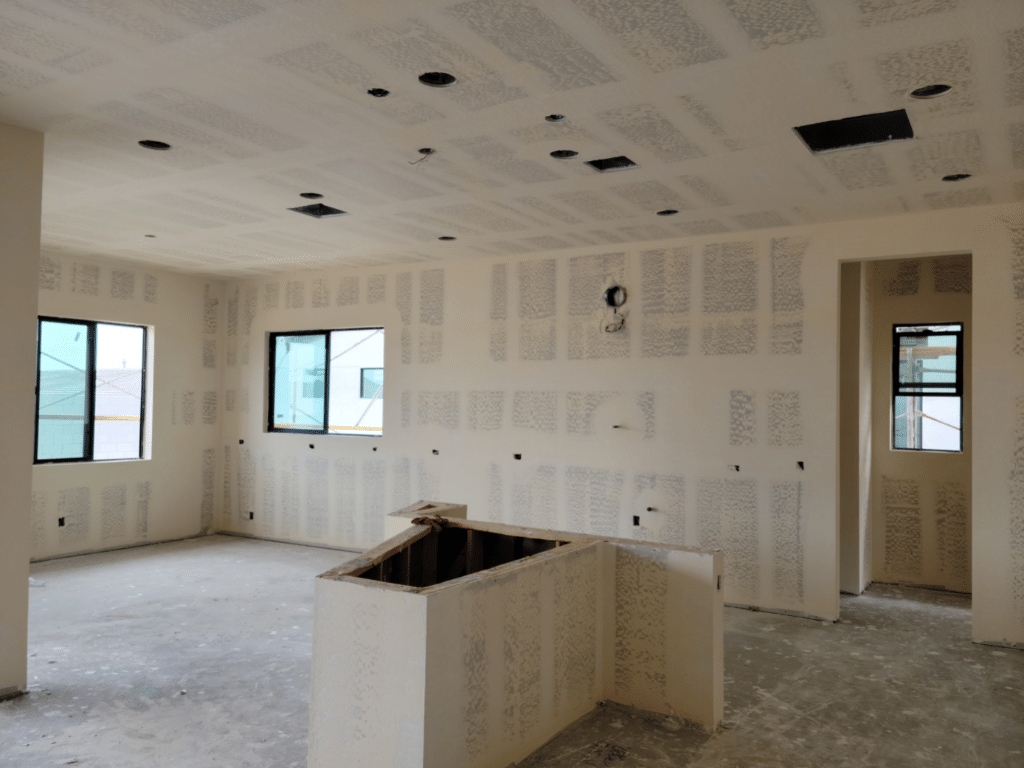
If you are not local, try to schedule visits for the important milestones, such as pre-dry wall walk-through.
9. The Final Walkthrough
When the times comes for your final walkthrough – check everything. Flush the toilets. Run the sinks. Check the sink stoppers. Turn lights on and off. Open every cabinet. Open and shut doors. Use your design center list to ensure everything was done as ordered. Sit on the toilets to make sure they are level. Turn on the stove and oven. Document everything.
The builder may leave extra paint with you for touch-ups. Make sure you mark them clearly where the paint was used in the house.
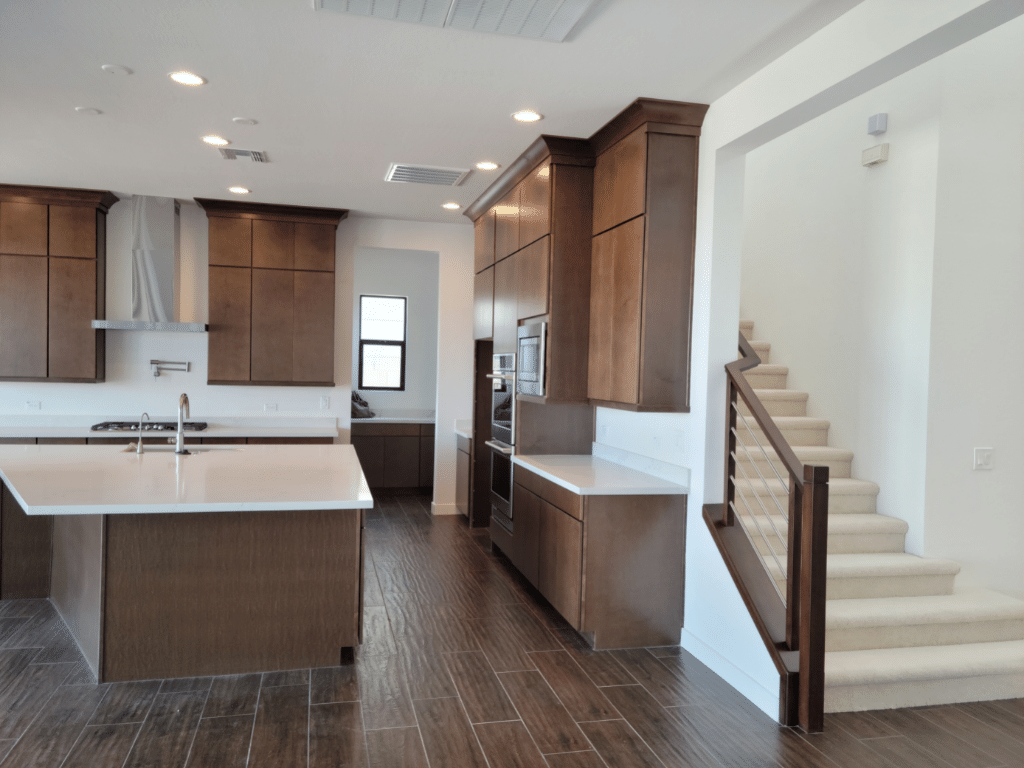
The builder will probably give you an orientation to your new home to make sure you understand how everything works. Be sure to pay attention, take notes, and ask questions.
If you discover things on this walkthrough that need to be fixed, ask about the process for addressing them. There may be things that can be fixed prior to your settlement; others may need to be scheduled after you move in.
10. Get the keys
The house is finally yours! Take a moment to celebrate!
But you aren’t done.
After you celebrate, should complete the warranty for all the items installed by builder such as the roof, appliances, etc.
As you begin to live in your new house, you need to pay attention to things that were either missed in your walkthrough, or things that come up following the walkthrough.
A few days after we settled on our house we discovered the sewer backing up into our guest shower on the first floor. (You read this right.) Be sure to know who and how to contact when things like this go awry.

Other things that come up develop over time (e.g. nail pops). These items are not urgent, but should be noted for the 12 month follow-up. Create a master list to keep track of everything that you find during your first year.
11. 1 Year follow up
Have a roll of blue painter’s tape ready and carefully walk through each room. A lot of what you will find are nail pops that needs to be fixed. But also look at the tile grout where you have tile (especially on the floor) to make sure the grout hasn’t cracked and pulled away.
Take photos of the things you have marked. We have learned that sometimes contractors pull the tape of things that they don’t consider an issue – even if you do. Having a photo will ensure you have a record of everything you marked.
Hiring an independent inspector can also be helpful to check the big things, such as all the systems and the roof. You can share the report with the builder to address anything that was found. Use the master list you created to keep track of the status of each item and follow up as necessary.
Building a home takes patience and planning. But once you are done, it is so rewarding. CONGRATULATIONS ON YOUR NEW HOME!

